Air-Drying Curly Hair Without Frizz: Step-by-Step for Each Curl Pattern
In this article:
- Why Curls and Air Drying Have a Complicated Relationship
- Air-Dry Routines for Waves, Curls, and Coils
- Techniques To Master the Air-Dry
- Mistakes to Avoid when Air Drying
Key Takeaways:
- Every curl pattern, including waves, curls, and coils, can air dry beautifully, but each one needs a different approach. The technique and product amount that works for loose Type 2 waves won't give the same results on tight Type 4 coils.
- The single biggest factor in a frizz-free air dry is applying product to soaking-wet hair. Then, it's vital to keep your hands off while it dries. Touch it too early, and you'll break the curl clumps that give you definition.
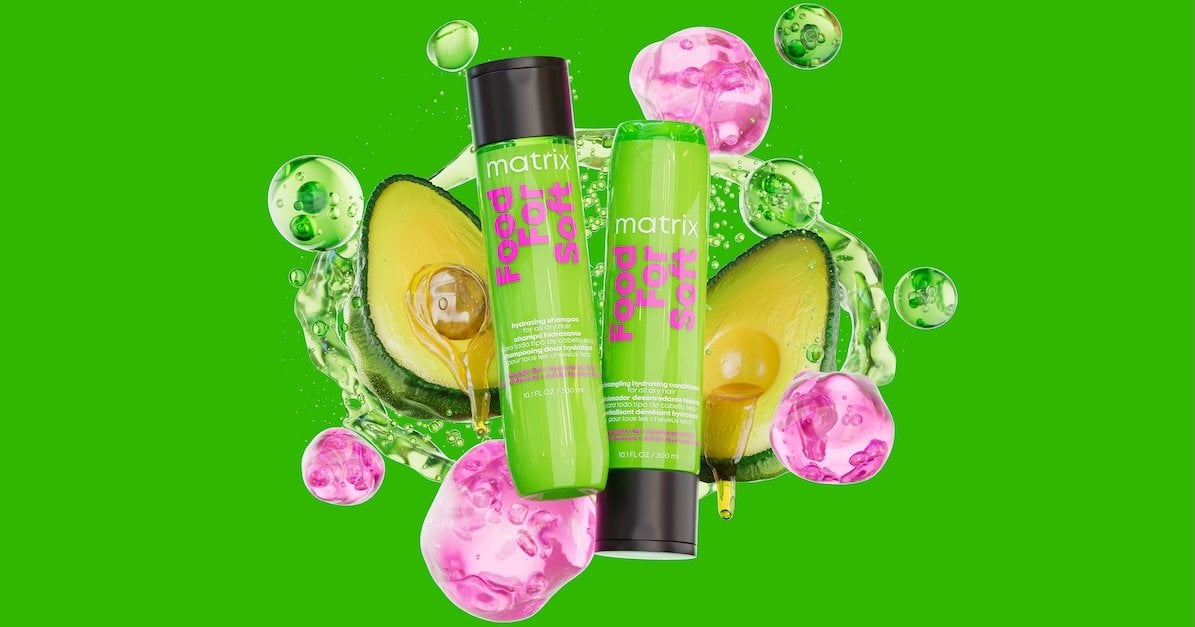
- Lightweight curl definers like A Curl Can Dream Lightweight Oil hold your pattern in place without crunch. Plus, a finishing layer of Food For Soft Multi-Use Hair Oil Serum seals in moisture for curls that stay soft all day!
Would you like to eliminate frizzy hair? We've got tips to help! Regardless of your curly hair pattern, use the following to keep frizz where it belongs: out of your hair.
Why Curls and Air Drying Have a Complicated Relationship
Air-drying curly hair sounds like it should be the simplest thing in the world. You wash it, leave it alone, and let nature handle the rest. But anyone with waves, curls, or coils knows the reality is messier than that.
Curly hair has a naturally more lifted cuticle than straight hair. The twists, bends, and coils in each strand create more surface area, too. This means more opportunity for moisture in the air to sneak in and swell the strand unevenly. Your hair will stay vulnerable and in an open-cuticle state for longer, which invites frizz to move in.
A loose Type 2 wave and a tight Type 4 coil have completely different needs. Their product needs, techniques, and drying times are completely different. What defines one pattern can flatten another. That's why the real secret to air drying curly hair isn't a single hack. Instead, match your approach to your curl pattern.
Air-Dry Routines for Waves, Curls, and Coils
Your curl type isn't a grade, it's a roadmap. Each pattern has its own quirks when air drying. Once you know yours, you can build a routine that works. Here's how to air dry curly hair by pattern, step by step.
Waves (Types 2A, 2B, 2C): Bounce without the weight. Waves love to go flat if they aren't supported. For 2A and 2B textures, start with damp hair scrunched with a microfiber towel.
- Use a microfiber towel to scrunch hair—terry cloth causes friction and frizz.
- Apply A Curl Can Dream Lightweight Oil by scrunching upward from ends to roots. This lightweight oil is infused with sunflower seed oil and provides shine to hair.
- Use a quarter-sized amount to avoid weighing down the hair.
- For 2C waves, layer A Curl Can Dream Moisturizing Cream followed by Light Hold Gel for added hold. A Curl Can Dream Moisturizing Cream provides moisture and definition, without flaking or crunch, with A Curl Can Dream Light Hold Gel layering perfectly over the cream.
Curls (Types 3A, 3B, 3C): Lock in the clump. Type 3 curls have amazing spring, but humidity loves to hit them right at the crown. The trick? Product meets soaking-wet hair.
- Apply A Curl Can Dream Moisturizing Cream while you're still in the shower—dripping wet is the magic state!
- The Plop: Flip your hair into a microfiber towel and wrap it up for 15–30 minutes. This "sets" the shape while you get ready.
- Unwrap and hands off! Let it finish drying completely.
- SOTC (Scrunch Out The Crunch): Once 100% dry, gently scrunch to break the gel cast. Hello, soft, defined masterpiece!
Coils (Types 4A, 4B, 4C): Mega-moisture and definition. Coils are the most "moisture-hungry" pattern. They take the longest to dry, so patience is your superpower.
- Work in sections! On soaking-wet hair, apply a generous dose of leave-in conditioner.
- The Seal: Layer Food For Soft Multi-Use Hair Oil Serum over the top. This leave-in treatment is infused with avocado oil & hyaluronic acid to provide smoother, softer hair with heat protection.
- Technique Time: For 4A, try Finger Coiling (wrap small sections around your finger). For 4B/4C, try Shingling (smoothing product through each section between two fingers).
- Let it go! Don't disturb the magic. Rushing the process with a towel only breaks the beautiful coils you just built.
Techniques To Master the Air-Dry
You've seen these terms scattered through the routines above. Here's a quick breakdown so you know exactly what each one does and which curl patterns will benefit most.
- Scrunching: Scrunching is the universal air-dry technique. Cup the ends of your hair and push upward toward your scalp, compressing the strand into its natural bend. This works for every curl type. For waves, it's your primary shaping tool. For curls and coils, it's how you encourage clumping.
- Plopping: Plopping uses a microfiber towel or cotton t-shirt to hold your curls in a scrunched position while they set. Lay the fabric flat, flip your head onto it, and wrap. It's most effective for Type 2C through 3C patterns. For very tight coils, plopping can compress the curl too much. Instead, use stretching techniques that often work better for Type 4 hair.
- Finger Coiling: Finger coiling means wrapping individual sections around your finger to create defined spirals. It's time-intensive but gives coily textures (especially 4A–4C) beautiful, uniform definition. Keep in mind that it's best to use plenty of product and apply it to small sections. And then there's the moment that makes the whole routine worth it.
- Scrunch Out the Crunch: SOTC, also known as scrunch out the crunch, is what you do once your hair is fully dry. If you use a gel or strong-hold product, your curls will feel crunchy to the touch. That's the gel cast, and it protects your curl shape while it dries. Once it's set, scrunch gently or smooth your hands over the surface. This will break the cast and reveal soft, touchable curls. Timing matters: do it too early, and you'll get frizz. Instead, wait until there's zero moisture left.
Mistakes to Avoid when Air Drying
- Touching Your Hair Before It's Fully Dry: Every scrunch, flip, and finger-rake while your curls are still damp disrupts the clumps and opens the cuticle. Set a timer if you must.
- Applying Product to Towel-Dried Hair instead of Soaking-Wet Hair: For Type 3 and Type 4 patterns especially, water is what helps product distribute evenly and curl clumps form. Damp simply isn't wet enough. So, apply your styler while your hair is still dripping.
- Using the Same Amount of Product Regardless of Density: Fine, low-density waves need a whisper of product. Thick, high-density coils need a generous pour. Match the amount to your hair, not a generic recommendation.
- Skipping the Finishing Oil or Serum: That final seal of oil locks moisture in and keeps humidity from undoing your work.
- Brushing It Out Before It's Fully Dry: If your air dry isn't going the way you planned, resist the urge to grab a brush. You'll only separate the clumps, create frizz, and lose whatever definition you had. If you need a reset, re-wet fully and start the styling step over.
Your curls already know what they want to do. The right product on soaking-wet hair, the right technique for your pattern, and the patience to let it all dry untouched. These techniques can give you definition and softness that rivals any diffuser result.